Oracle just released on OTN a new product "Oracle Data Integrator" (ODI), I wanted to quickly take a look to the product, so I have downloaded it and installed it on my Mac. This product is a 100% Java based solution that you can quickly installed on mac following these steps:
1- Download and unzip ODI from OTN download page (bottom).
2- Open a terminal Window and go to the folder where you have unzipped ODI, you should have the following content:
- external
- index.htm
- oracledi
- oracledilwd
- oracledimn
- setup
Open the index.html and select the Getting Started Guide, this will help you to learn more about ODI using a comprehensive scenario.
3- Setup the environment variables:
export ODI_JAVA_HOME=/Library/Java/Home/   (need to be Java 5)

export ODI_HOME=<path to ODI installation folder>/odi/oracled
4- Go to the $ODI_HOME/bin
cd $ODI_HOME/bin
5- Start the HSQL databases that contain the sample application and data:
./startdemo.sh &
This command starts 3 different instances: repo (metadata repository), src (source db), trg (target db) that are used in the Getting Started guide. To stop the DB run the script ./stopdemo.sh.
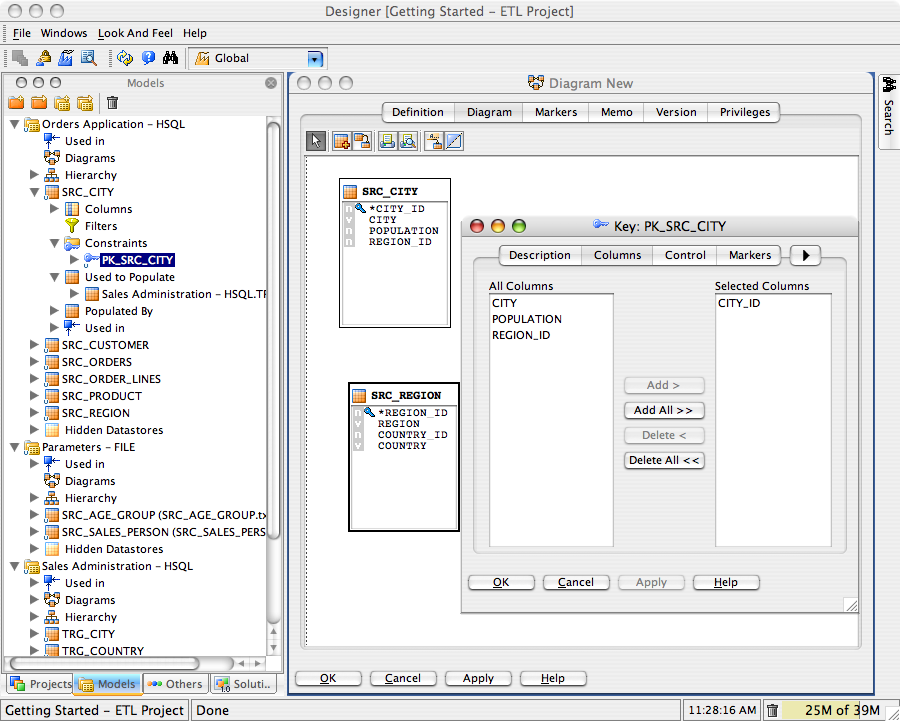
6- You can now start the designer too using the command:
./designer.sh &
Select the Getting Started project and when you are in the designer switch to the Mac OS X look and feel ;-), using the Menu "Look And Feel > Standard > Mac OS X".

These are the first steps to start with Oracle Data Integrator, you can now follow the Getting Started Guide, to learm more about the product, and since your environment is set you can run any of the command documented in this guide.