In this article, you will learn how to use Kubernetes to run GitHub Actions self-hosted runners on-demand. This enables you to auto-scale your runners based on the number of queued jobs, and quickly respond to spikes in workflow activity.
I will focus on GitHub Enterprise Server, but the same concepts apply to GitHub.com, and this post is based on the work of the Actions Runner Controller team and Natalie Somersall
GitHub Actions is a great way to run your CI/CD workflows. However, it can be complex to run a large number of self-hosted runners. Using Kubernetes to auto-scale your runners you can simplify the management of your runners. The actions-runner-controller is a Kubernetes controller that manages self-hosted.
You can find a video of this article on YouTube:
Prerequisites
- GitHub Enterprise Server with an existing organization. I am using version 3.6.1, and my organization is called
demo - A Kubernetes cluster, I am using a Google Kubernetes Engine (GKE) cluster (v1.22.12-gke.2300 no autopilot), not a preference, just that the team I am working with is using GKE.
- Helm, I am using v3.10.1
In the following section you will:
- create a GitHub App to authenticate the
actions-runner-controller - deploy and configure the
actions-runner-controller - Test the newly created runners
GitHub Enterprise Server Authentication
The Actions Runner Controller must authenticate with GitHub Enterprise Server.
To authenticate the runner controller against GitHub Enterprise Server you have two options:
- PAT (Personal Access Token)
- GitHub Apps
Note that the runners can be registered at different levels:
In the next steps, you will create a GitHub App to authenticate and use it at the organization level.
Create a GitHub App
To create a GitHub App, you need to be an admin of the GitHub Enterprise Server instance. You can find more information about GitHub Apps here.
Navigate to your Organization settings.
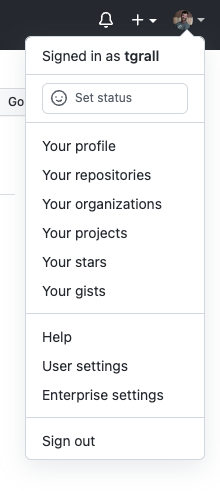
For this post, you will create a GitHub App owned by an organization, in the upper-right corner of any page, click your profile photo, then click Your organizations.
Then, to the right of the organization, click Settings.

In the left sidebar, click < >Developer settings.
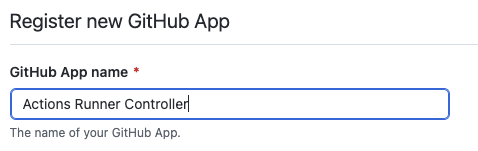
Click New GitHub App.
In "GitHub App name", type the name of your app.
Optionally, in "Description", type a description of your app that users will see.
In "Homepage URL", type the URL where users can learn more about your app, you can point to the Actions Runner Controller GitHub repository.
In "Wehbook", uncheck Active.
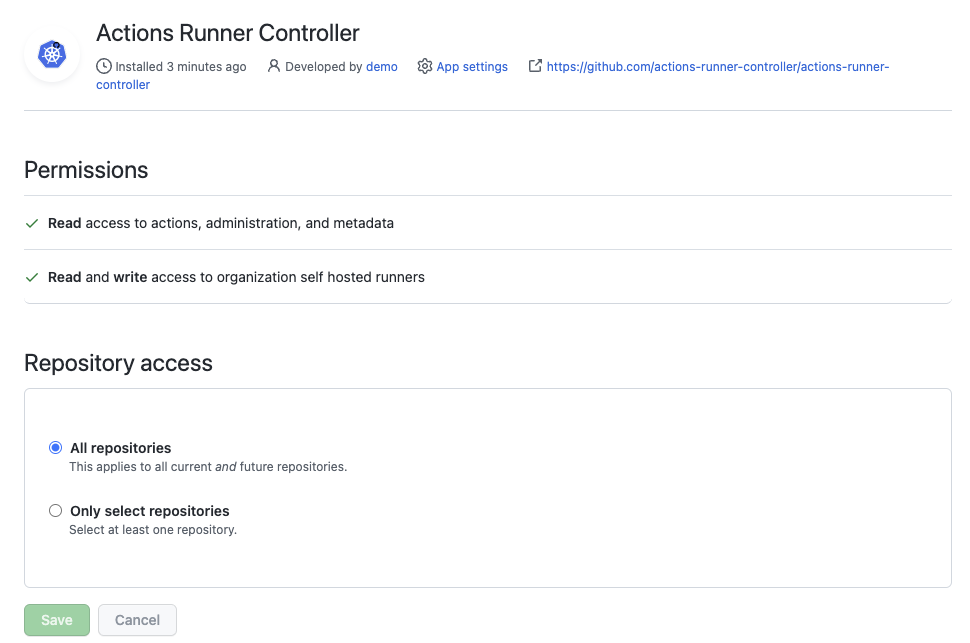
Then configure the permissions for your app. For this post, you will need to select the following permissions: (we will use Organization Runners)
- Repository Permissions
- Actions (read)
- Metadata (read)
- Organization Permissions
- Self-hosted runners (read / write)
If you want to register the runners at the Repository level, you will need different permissions as documented here.
- Repository Permissions
Keep the default values for the other options, and click Create GitHub App.
- In the next screen, Generate a Private key, and download it. You will need it later. (file
arc-private-private-key.pemin the following steps)
Install the newly created GitHub App
In the application settings,
Find the Install App button. Click on it.
Select the organization where you want to install the app. Then click Install.
Select "All repositories" and click Install.
Deploy GitHub Actions Runner Controller
You are not ready to deploy the Actions Runner Controller and register it to your GitHub Enterprise Server instance, for this we need:
1. Install the Cert Manager using Helm
> kubectl create namespace cert-manager

> helm repo add jetstack https://charts.jetstack.io

> helm install cert-manager jetstack/cert-manager --namespace cert-manager --version v1.9.1 --set installCRDs=true
2. Install the Actions Runner Controller using Helm
- The GitHub Server URL (
$GITHUB_SERVER_URLin the following steps)
> helm repo add actions-runner-controller https://actions-runner-controller.github.io/actions-runner-controller

> kubectl create namespace actions-runner-system

> helm install -n actions-runner-system actions-runner-controller actions-runner-controller/actions-runner-controller --version=0.21.0

> kubectl set env deploy actions-runner-controller -c manager GITHUB_ENTERPRISE_URL="$GITHUB_SERVER_URL" --namespace actions-runner-system
3. Configure the GitHub App Authentication
- The GitHub App data (that you can get from the GitHub App settings page):
- The App ID (
$GITHUB_APP_ID) - The App Private Key file (
$GITHUB_APP_PRIVATE_KEY_FILEPATH) - The APP Installation ID (
$GITHUB_APP_INSTALLATION_ID). To get the Application Installation ID, go to the Application Settings Page, and click on the Install App button. Then click on the Configure button. You will find the Installation ID in the URL of the page. (e.g.https://github.tugdualgrall.com/organizations/{ORG}/settings/installations/{INSTALL_ID})
- The App ID (
$ kubectl create secret generic controller-manager \
    -n actions-runner-system \
    --from-literal=github_app_id=${GITHUB_APP_ID} \
    --from-literal=github_app_installation_id=${GITHUB_APP_INSTALLATION_ID} \
    --from-file=github_app_private_key=${GITHUB_APP_PRIVATE_KEY_FILEPATH}
4. Deploy and Test your first Runner
You are now ready to register your runners to your organization. For this, you need to create a RunnerDeployment resource.
I like to put all my runners in a separate namespace, so let's create it with the following command:
> kubectl create namespace runners
Let's create a new file runner-001.yml with the following content:
apiVersion: actions.summerwind.dev/v1alpha1
kind: RunnerDeployment
metadata:
  name: runner-001
  namespace: runners
spec:
  replicas: 1
  template:
    spec:
      organization: demo
      labels:
        - arc
        - kubernetes
        - gke
      group: Default
> kubectl apply -f runner-001.yml
This command will deploy a runner in the runners namespace, and register it to the demo organization. .
You can check the status of the runner with the following command:
> kubectl get runner -n runners
NAME                     ENTERPRISE   ORGANIZATION   REPOSITORY   GROUP     LABELS                       STATUS    MESSAGE   AGE
runner-001-hp7jc-zhs66                demo                        Default   ["arc","kubernetes","gke"]   Pending             3s
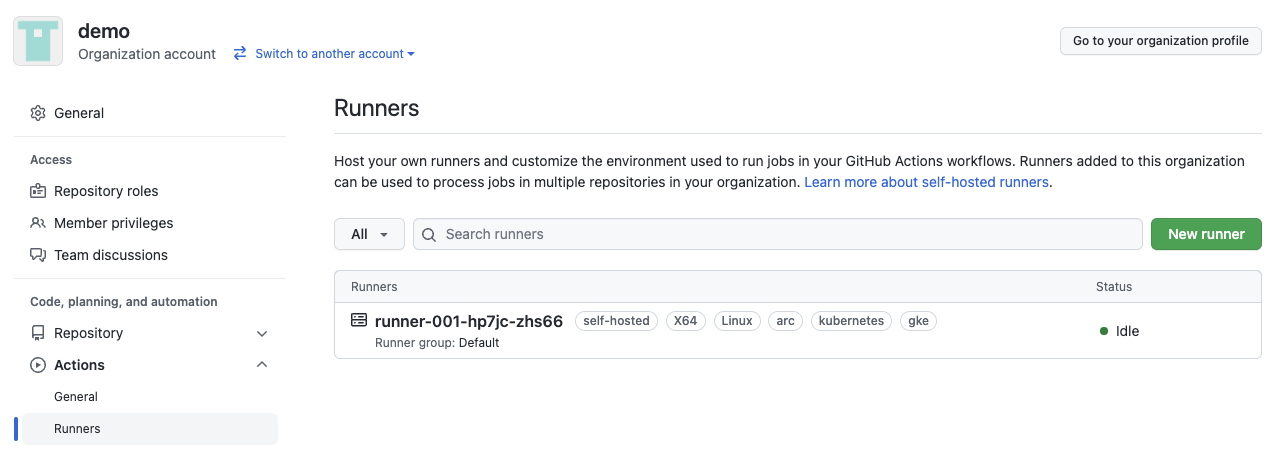
Once the runner is ready, you can check the organization settings page, and you will see the new runner:
You can now use your runner, for this, create a new workflow file .github/workflows/test.yml in one of your repositories, and add the following content:
name: "Hello World"
on:
    workflow_dispatch:

jobs:
  build:
    runs-on: [ arc, kubernetes]
    steps:
      - name: Hello world action step
        run: echo Hello world!
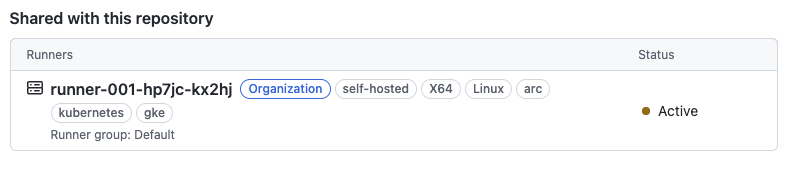
Once you have manually triggered the workflow, you will see the runner active on the organization settings page:
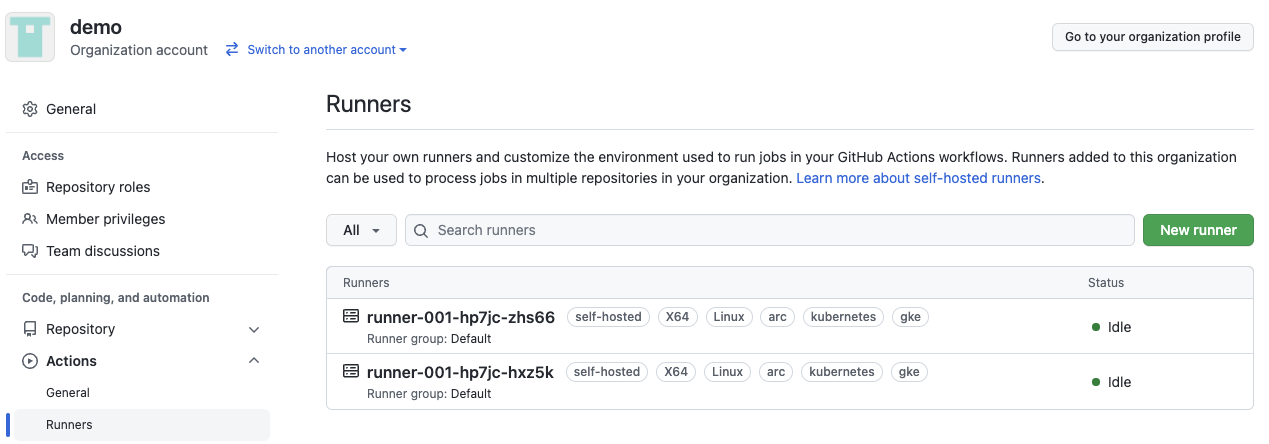
You can increase the number of runners by updating the replicas value in the RunnerDeployment resource: replicas: 2, once you have updated the resource, you will see the new runner in the organization settings page.
These runners are ephemeral, which means that they are waiting for a Job, and once the Jon is done the Pod used by the runner is deleted and recreated.
5- About the Runner Images
The Actions Runner Controller provides three Runner container images, available on Docker Hub and GitHub Container Registry:
The actions-runner image is the default image used by the controller, it is a minimal image with the runner installed. The other images are based on the actions-runner image, and add Docker in Docker capabilities.
Note:
As you may have seen the runner pods have 2 containers, the runner container, and the dind container. The dind container to use docker.
kubectl get pods -n runners -o jsonpath="{.items[*].spec.containers[*].image}" |\
  tr -s '[[:space:]]' '\n' |\
  sort |\
  uniq -c
Results:
   2 docker:dind
   2 summerwind/actions-runner:latest
When using Docker in Docker "DinD, you need privileged access to the host; so if you are running in an environment where it is not possible, you can run a separate VM to have a custom runner dedicated to Docket tasks and actions. You can also test the actions-runner-dind-rootless image, see documentation - I have not tested this image yet.
Conclusion
In this blog post, we have seen how to deploy a self-hosted runner on Kubernetes, and how to use it to run GitHub Actions workflows:
- install the Actions Runner Controller
- configure the GitHub App Authentication
- deploy and test your first runner
The Actions Runner Controller documentation contains additional information about the various resources and options available.
🎥 Video
See the Actions Runner Controller in action in this video: